Edit Your Time Card
If your employer has granted you rights to edit your own time card, you can add, edit and delete entries on any unfinalized pay period. To do this, log in to your Employee Portal and select the Time Card tab at the top of the page. If you see "Add" buttons on the left side of the time card, then you have the ability to edit your own time card.
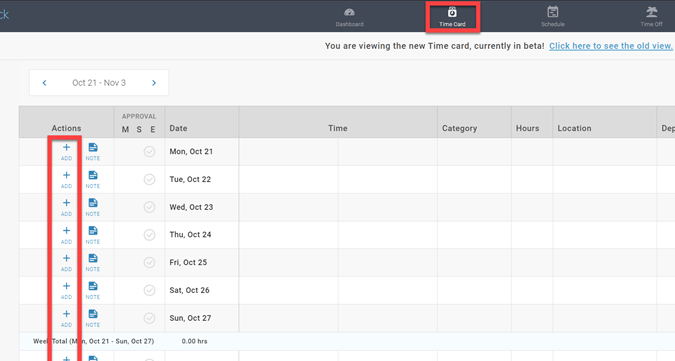
"Add" indicates you can edit the time card
Add Punches

These steps explain adding a punch set (an In and Out pair) on the time card. Note that when editing, you can tab between fields, but you still need to click the Save button in the Actions column.
- Click Add on the day where you want to add a new entry.
- Enter your start time in the first field. This is the time where you start "on the clock". Entering AM or PM is recommended.
- Select a punch type from the dropdown. The punch types may vary based on your company's configuration. At minimum, you will have "In" as a punch type.
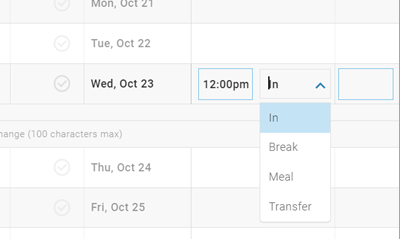
Punch type options for start of time "on-the-clock"
"On the Clock" Punch Types
When used in the first entry of a punch set:
- In = Start of shift/On the clock
- Break = Return from break
- Lunch = Return from lunch
- Transfer = Changing departments or other clock prompt code (see theTransfers section below)
- Enter an end time in the second time field. With the exception of transfers, this will be where you go "off the clock" for a break (paid or unpaid), lunch, or the end of your shift. Entering AM or PM is recommended.
- Select a punch type from the dropdown. The punch types may vary based on your company's configuration. At minimum, you will have "Out" as a punch type.
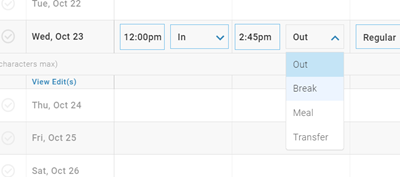
Punch type options for start of time "off-the-clock" or to transfer
"Off the Clock" Punch Types
When used in the second entry of a punch set:
- Out = End of shift/Off the clock
- Break = Leaving on break
- Lunch = Leaving on lunch
- Transfer = Changing departments or clock prompt codes (see the Transfers section below)
- Change the pay category if necessary, using the dropdown. It will default to "Regular".
- You do not need to fill in the Hours column when entering In and Out times, the time card fills in that field based after saving the entry.
- If your company uses clock prompts for tracking labor codes or tips, fill those fields in as well. Some clock prompts may be required. If you try to save a punch entry without filling in a required clock prompt, you will get an error message.
- (optional) Add a comment in the row beneath the entry.
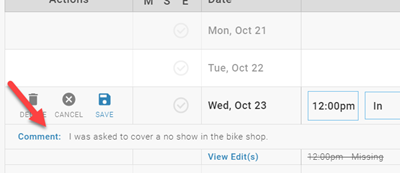
Comments can be added to the entry
- Click the Save button found in the Actions column.
Once a punch set is saved, you can use the edit button (pencil icon) to make adjustments.
Missing Punches
Missing punches occur when a punch set is incomplete. It is possible to save an entry with just a single punch, (for example, an In without a corresponding Out). If you do this, the time card indicates a missing punch.
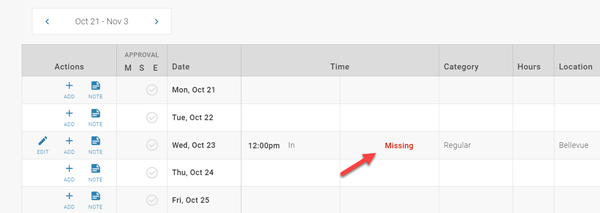
When a punch set is incomplete, Missing Punch appears on the time card
Transfers
The Transfer punch type indicate a change in clock prompts while "on the clock". For example, if you are staying on the clock but working in a different department, you can use Transfer to indicate you've moved to a different department.
When selecting Transfer as the end time (second half) of a punch set, the time card automatically adds a new punch set that starts with the time of the transfer.
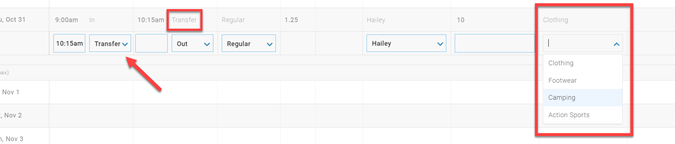
This transfer indicates a change from "Clothing" to a different department
You can then click the Edit button to complete this second punch set.
Error: Cannot have in and out times
If you receive the following error: "Category cannot have in/out times…", it means the format of the pay category must be an hours entry as opposed to an In and Out.

Certain pay categories may only allow hours entries
Lunch Column
The time card does contain a "Lunch" column, but you are only able to edit existing lunches. You cannot add a lunch to your time card entry.
Add an Hours Entry

It is also possible to add a total amount of hours, in decimal format, on the time card.
- Click Add on the day you want to add the entry.
- Select the Category of hours using the dropdown. It will default to Regular.
- In the Hours column, enter the amount in decimal hours format, i.e. 7:30 = 7.5.
- Click Save
Once an entry is saved, you can use the edit button to make adjustments.
Error: Category is Not Selectable with Hours
If you receive the following error: "Category x is not selectable with hours", it means the format of the pay category must be an in and out time as opposed to an hours entry.

Certain pay categories may only allow hours entries
Edit and Delete Entries
You can make changes to entries using the edit button. The pencil icon shows on any row where a time card entry can be edited.
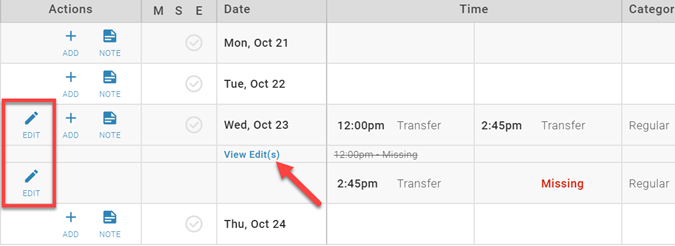
Edits can be made to existing entries with the pencil icon
You can also click View Edits underneath an entry to see a record of changes made to the entry.
To delete an entry, click the edit button. The delete option will show as a trash can icon.
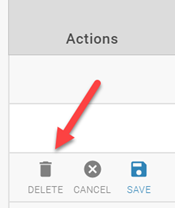
The Delete option is found after clicking the edit button
Finalized Pay Periods
Finalized time cards cannot be edited. When your company is preparing to submit payroll, time cards are finalized to prevent additional changes. When a time card is finalized, the Add, Edit and Note buttons will be greyed out.
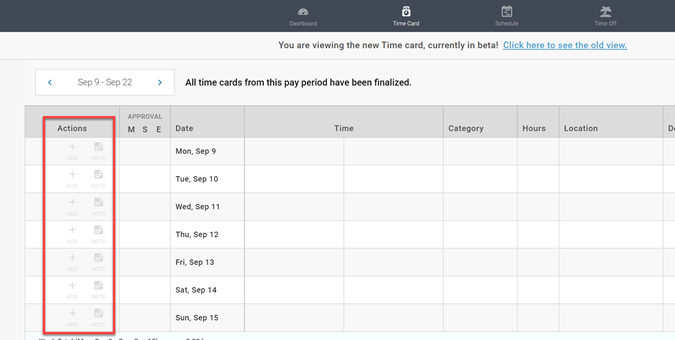
Finalized time cards cannot be edited and the Add/Edit buttons will be greyed out.